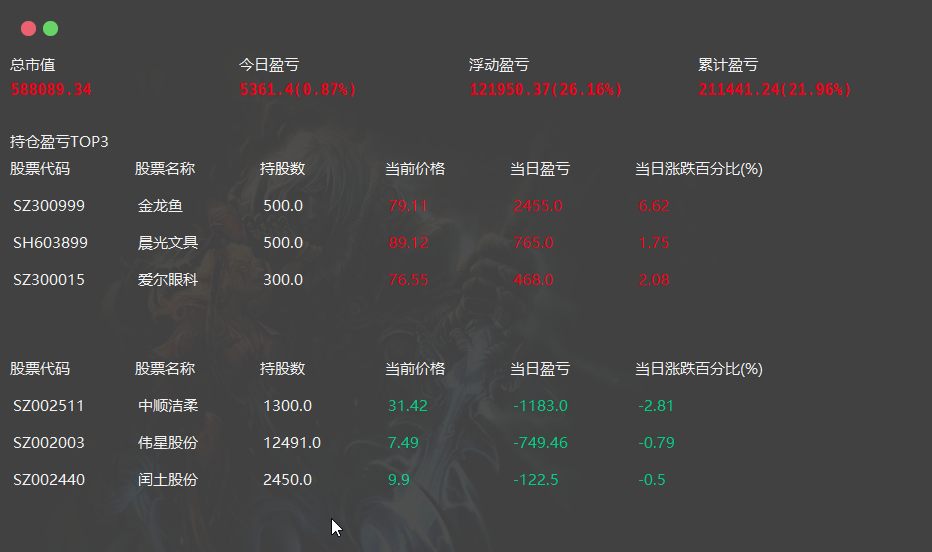
defdata(self, index, role=Qt.DisplayRole): if index.isValid(): value = self._data.iloc[index.row(), index.column()] if role == Qt.ForegroundRole andisinstance(value, float) and index.column() == 3: next_value = self._data.iloc[index.row(), index.column() + 1] if next_value < 0: return QtGui.QColor('#01D68A') else: return QtGui.QColor('#FF0018')
if role == Qt.ForegroundRole andisinstance(value, float) and index.column() != 2: if value < 0: return QtGui.QColor('#01D68A') else: return QtGui.QColor('#FF0018') if role == Qt.DisplayRole: returnstr(self._data.iloc[index.row(), index.column()]) returnNone
defresizeEvent(self, QResizeEvent): # 重新调整边界范围以备实现鼠标拖放缩放窗口大小,采用三个列表生成式生成三个列表 self._right_rect = [QPoint(x, y) for x inrange(self.width() - self._padding, self.width() + 1) for y inrange(1, self.height() - self._padding)] self._bottom_rect = [QPoint(x, y) for x inrange(1, self.width() - self._padding) for y inrange(self.height() - self._padding, self.height() + 1)] self._corner_rect = [QPoint(x, y) for x inrange(self.width() - self._padding, self.width() + 1) for y inrange(self.height() - self._padding, self.height() + 1)]
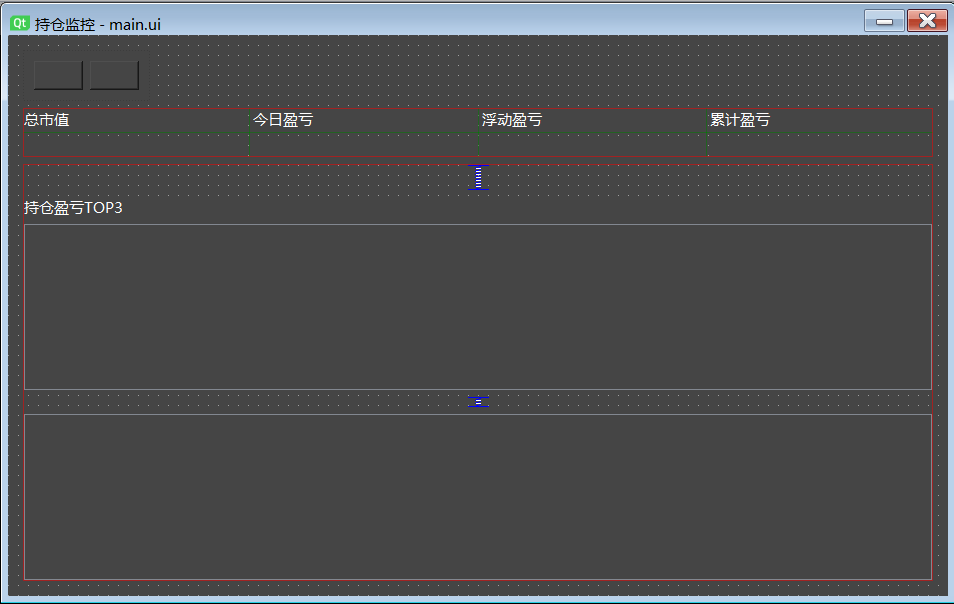
defmousePressEvent(self, event): # 重写鼠标点击的事件 if (event.button() == Qt.LeftButton) and (event.pos() in self._corner_rect): # 鼠标左键点击右下角边界区域 self._corner_drag = True event.accept() elif (event.button() == Qt.LeftButton) and (event.pos() in self._right_rect): # 鼠标左键点击右侧边界区域 self._right_drag = True event.accept() self.setCursor(QCursor(Qt.SizeHorCursor)) elif (event.button() == Qt.LeftButton) and (event.pos() in self._bottom_rect): # 鼠标左键点击下侧边界区域 self._bottom_drag = True event.accept() self.setCursor(QCursor(Qt.SizeVerCursor)) elif (event.button() == Qt.LeftButton) and (event.y() < self.label_10.y()+self.label_10.height() or (event.y() > self.label_9.y() and event.y() < self.tableView_2.y())): # 鼠标左键点击标题栏区域 self._move_drag = True self.move_DragPosition = event.globalPos() - self.pos() event.accept() self.setCursor(QCursor(Qt.OpenHandCursor)) #更改鼠标图标
defmouseMoveEvent(self, QMouseEvent): # 判断鼠标位置切换鼠标手势 # if QMouseEvent.pos() in self._corner_rect: # self.setCursor(Qt.SizeFDiagCursor) # print("corner:%s, in %s" %(QMouseEvent.pos(),self._corner_rect)) #print(QMouseEvent.globalPos(), QMouseEvent.pos(), self.graphWidget.x(), self.graphWidget.y(), self.graphWidget.pos(), self.graphWidget.width(), self.graphWidget.height()) if QMouseEvent.pos() in self._bottom_rect: self.setCursor(QCursor(Qt.SizeVerCursor)) elif QMouseEvent.pos() in self._right_rect: self.setCursor(QCursor(Qt.SizeHorCursor)) elif QMouseEvent.pos() in self._corner_rect: self.setCursor(QCursor(Qt.SizeFDiagCursor)) else: self.setCursor(QCursor(Qt.ArrowCursor)) # 当鼠标左键点击不放及满足点击区域的要求后,分别实现不同的窗口调整 # 没有定义左方和上方相关的5个方向,主要是因为实现起来不难,但是效果很差,拖放的时候窗口闪烁,再研究研究是否有更好的实现 if Qt.LeftButton and self._right_drag: # 右侧调整窗口宽度 self.resize(QMouseEvent.pos().x(), self.height()) QMouseEvent.accept() elif Qt.LeftButton and self._bottom_drag: # 下侧调整窗口高度 self.resize(self.width(), QMouseEvent.pos().y()) QMouseEvent.accept() elif Qt.LeftButton and self._corner_drag: # 右下角同时调整高度和宽度 self.resize(QMouseEvent.pos().x(), QMouseEvent.pos().y()) QMouseEvent.accept() elif Qt.LeftButton and self._move_drag: # 标题栏拖放窗口位置 self.move(QMouseEvent.globalPos() - self.move_DragPosition) QMouseEvent.accept()
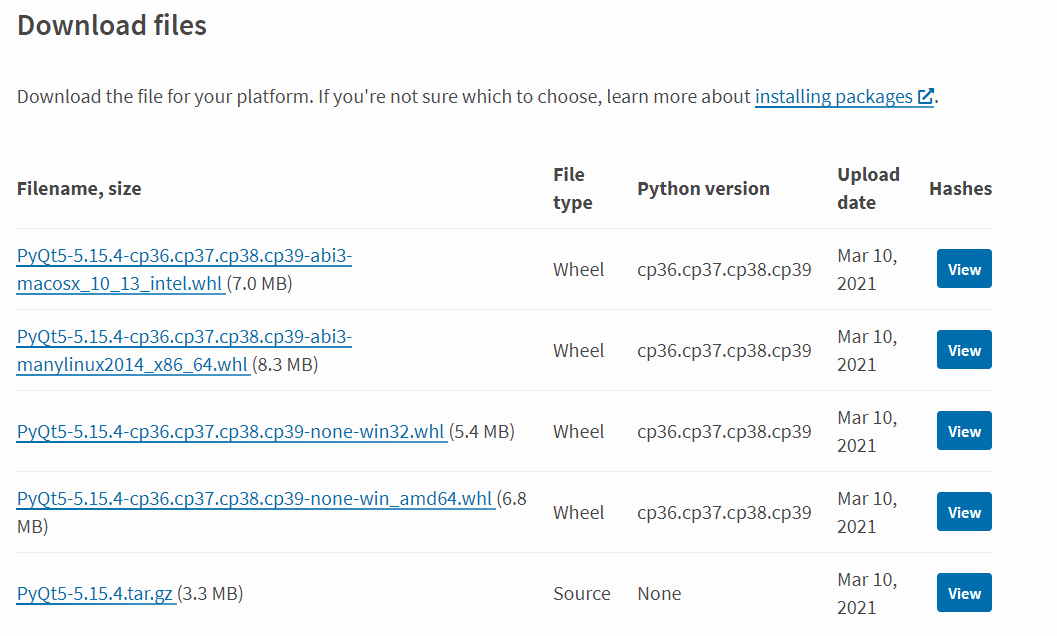 安装方法:打开命令行,通过命令行进入到下载的whl文件所在的文件夹,输入如下命令,安装即可。 >pip install PyQt5-5.15.4-cp36.cp37.cp38.cp39-none-win_amd64.whl
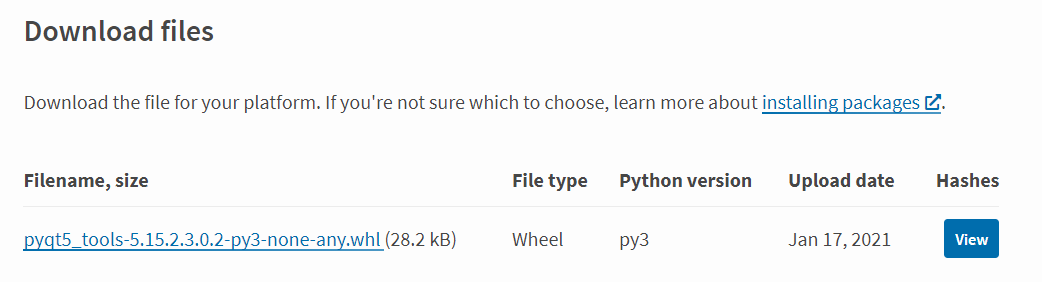 安装方法:打开命令行,通过命令行进入到下载的whl文件所在的文件夹,输入如下命令,安装即可。 >pip install pyqt5_tools-5.15.2.3.0.2-py3-none-any.whl
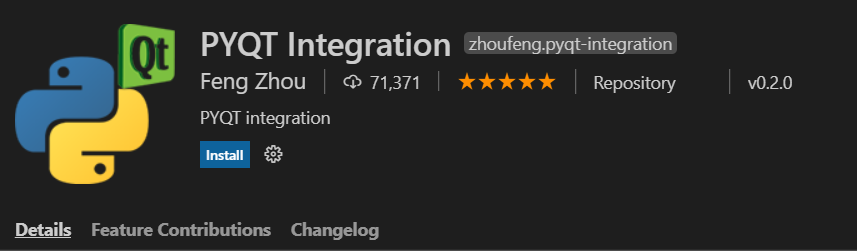 对pyqt integration插件进行配置,主要是pyuic5及qt designer的路径
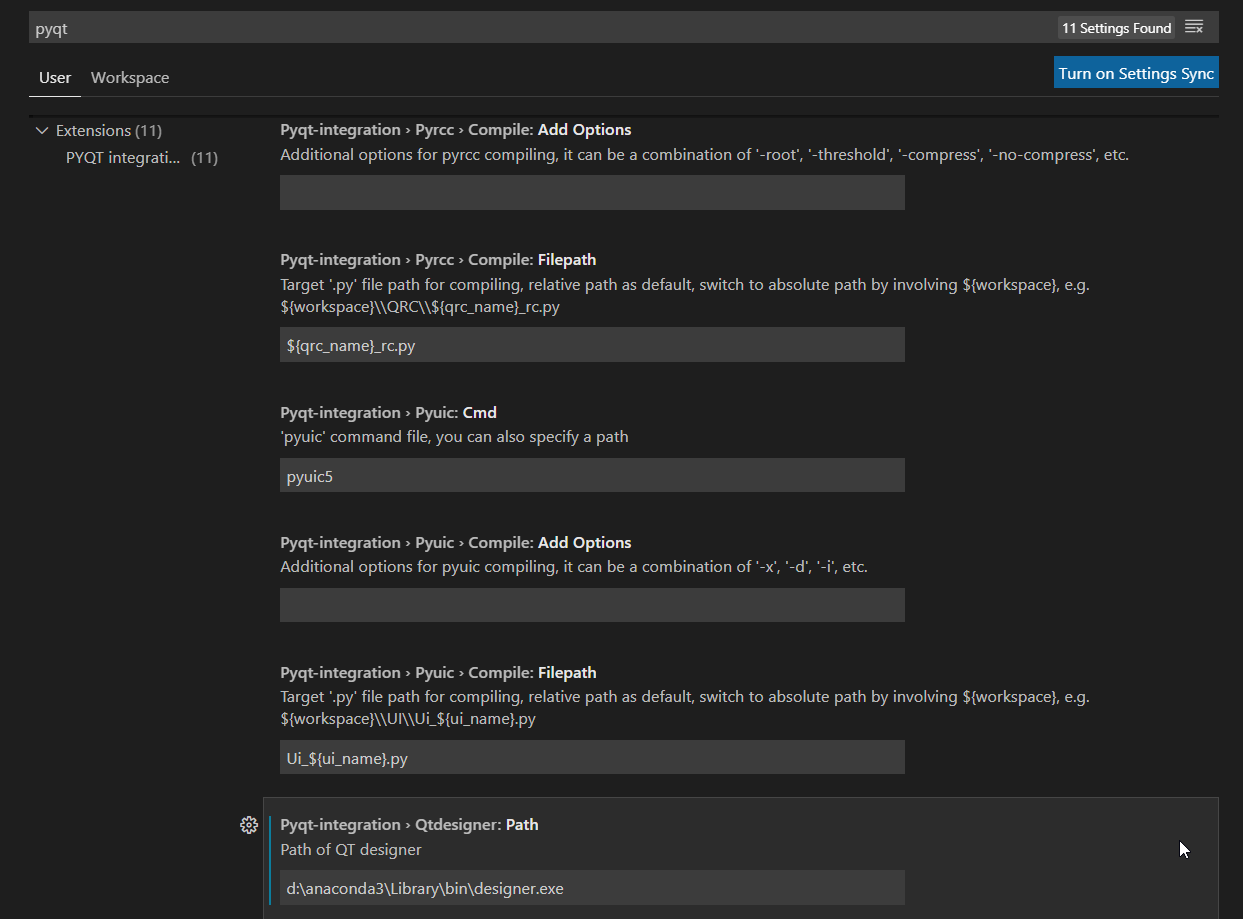
 # 参考 1. VSCode配置Python、PyQt5、QtDesigner环境并创建一个ui界面测试 2. python界面编程:VScode+pyqt+pyqt integration配置备忘 3. PyQt5(designer)入门教程 4. Embedding custom widgets from Qt Designer